Blueadventures
-
Posts
3,533 -
Joined
-
Last visited
-
Days Won
62
Content Type
Profiles
Forums
Gallery
Downloads
Blogs
Events
Store
Aircraft
Resources
Tutorials
Articles
Classifieds
Movies
Books
Community Map
Quizzes
Videos Directory
Everything posted by Blueadventures
-
What specific info does Ra Aus need for propellers?
Blueadventures replied to danny_galaga's topic in Engines and Props
Did you advise them its owner build not a factory build? -
Wing checks every 10 hours; that keeps on top of things. I have contacted the owner of such an aircraft up here to reassure myself that he knows of these checks. He is a personal friend and would not like hear of a matter that involves not checking the wing, etc. He phones me on a regular basis about his Savannah and other matters.
-
Yep understand; however who does the MO in Australia or overseas; info for all who own these. Your knowledge about this is appreciated.
-
Shippy could you detail the checks you did for your Zephyr to comply with the manufacturers periodic and 10 yearly major haul requirements and who did it (available in Australia hopefully). Seems like two 10 yearlys would / should have been done with at least one being in your ownership period. I intend to send an email to the owner up here that has your Zephyr so he is aware of the requirements for the wooden wings for his safe flying (I hope he is aware of such). Thanks in advance for your information.
-
E-Props ...who has first hand experience with these
Blueadventures replied to eightyknots's topic in Engines and Props
The engine prop setup to look at with your device / method would be the Savannah S as they have a very long spacer between the engine flange and the prop hub. -
My guess would be aero as the trailing edge of the AFHS had drag inducers; probably to hold the AFHS in position rather than move up and down slightly in the airstream immediately behind the trailing edge. (Just my guess.)
-
Its not cheap to dig out a no longer need ex servo below ground fuel storage tank in Queensland.
-
Agree, I'm surprised that Skip as a previous owner and connected in the past with the agent is not fully across the periodic checks and 10 yearly major overhaul requirements and including the manufactures specific bulletins for the wings for this aircraft line. I read that any shallow cracks are to be painted over with a specific paint to prevent water entry. As an example composite gliders have small cracks painted with water based paint not enamel as acetone will remove the water based paint prior to permanent repair and ensure no contamination present that would prevent 100% adhesion. Any person purchasing an aircraft needs to do their homework or get assistance with the prepurchase.
-
Yep, specialist check required. I had a bit to do with timber gliders and repairs to them in the past. I read with the Zephr they need specific wing / fabric checks and are required to have major overhaul (MO) every 10 years at the factory or authorised workshop. Any purchaser would be best to see the currency of any particular aircrafts 10 yearly MO checks as may be expensive. In gliding we had 10 yearly surveys as a requirement.
-
Yep, recon missing about 70.
-
Might be panted with the 'Hammertone' product🤪
-
Maybe the instructor is a low hours instructor and still improving his delivery.
-
At the same airfield I have encountered (several times) other aircraft taxiing towards me on a runway and deciding to keep to their left. Arguing with me on the radio telling me I should keep to the left rather than to the right. I wonder what they were told about the rules of taxiing. Car drivers.
-
I was speaking with a flying friend on Friday and he mentioned that he has a new set of hearing aides and his Bose 10 headsets are uncomfortable noise level wise. Are there any head set types that are better or easier to adjust for hearing aides? (I don't have hearing aides so don't know myself.) Any experiences and advice welcomed. I told my friend about this group and suggested he join it and ask the question. I'm just asking in advance for him. Regards Mike
-
Started a spare parts list
Blueadventures replied to danny_galaga's topic in Aircraft General Discussion
Which model number is the one you got and have any others been using them. Even an image would be great. Cheers. -
Having A Clean Out
Blueadventures replied to skippydiesel's topic in Instruments, Radios and Electronics
You should verify if the radio works; would not be hard and will assist the advert. I bought a handheld aircraft receiver from the site shop for $64.95 delivered. Will use it as the hangar radio to monitor traffic calls locally. If yours works someone may have a use for it. Cheers -
propeller suit Rotax 912 (Now asking $1,200)
Blueadventures commented on Blueadventures's classified in Engines and Props
Price reduced to $1,200. -
I hope CASA's outcome mirrors what the pilot has already decided and done for his airmanship in the future.
-
Agree, those onboard persons safety first; discard any commercial pressures; (you may pay a career price later) but yourself and those onboard have been looked after.
-
In my area 95 RON has become quite scarce - most servos rationalising their offering to 91 or 98 RON. not in my town Mackay, 90% have 95 even the new ones ( I use Mobil locally and have choice of BP, Caltex, Shell.) After 7pm 5 cents off per litre.
-
Like the info about MAP gauge min and max. I’ll mark mine for 95 grade.(I have a fixed pitch E-prop on 912 ULS)
-
Icom A16 2 day sale
Blueadventures replied to BurnieM's topic in Instruments, Radios and Electronics
They are a good handheld; also if buying one at $350 pm Ian as he my be able to match the price for the two day sale and if so supports him.- 1 reply
-
- 2
-

-
Everywhere is nice, we have our good days and plenty of bad days. Cheers.
-
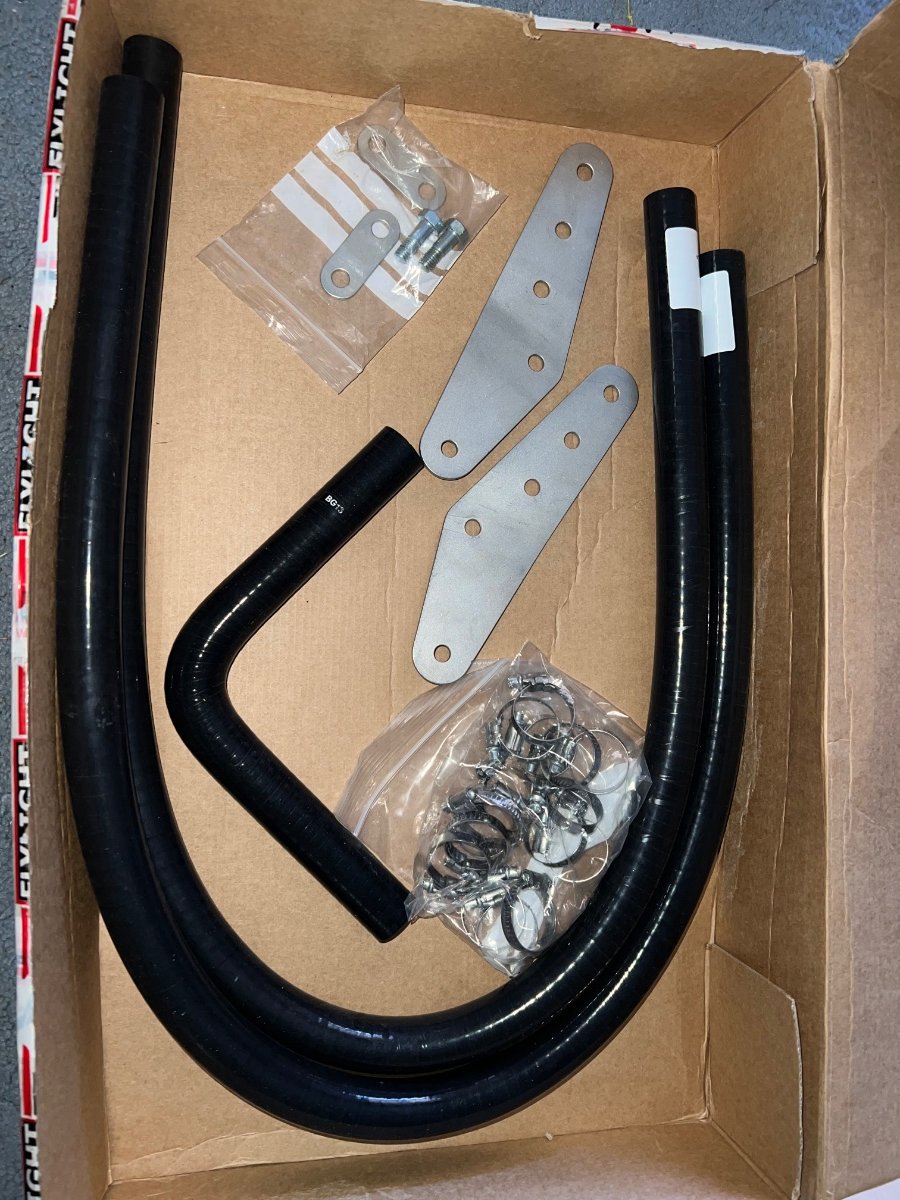
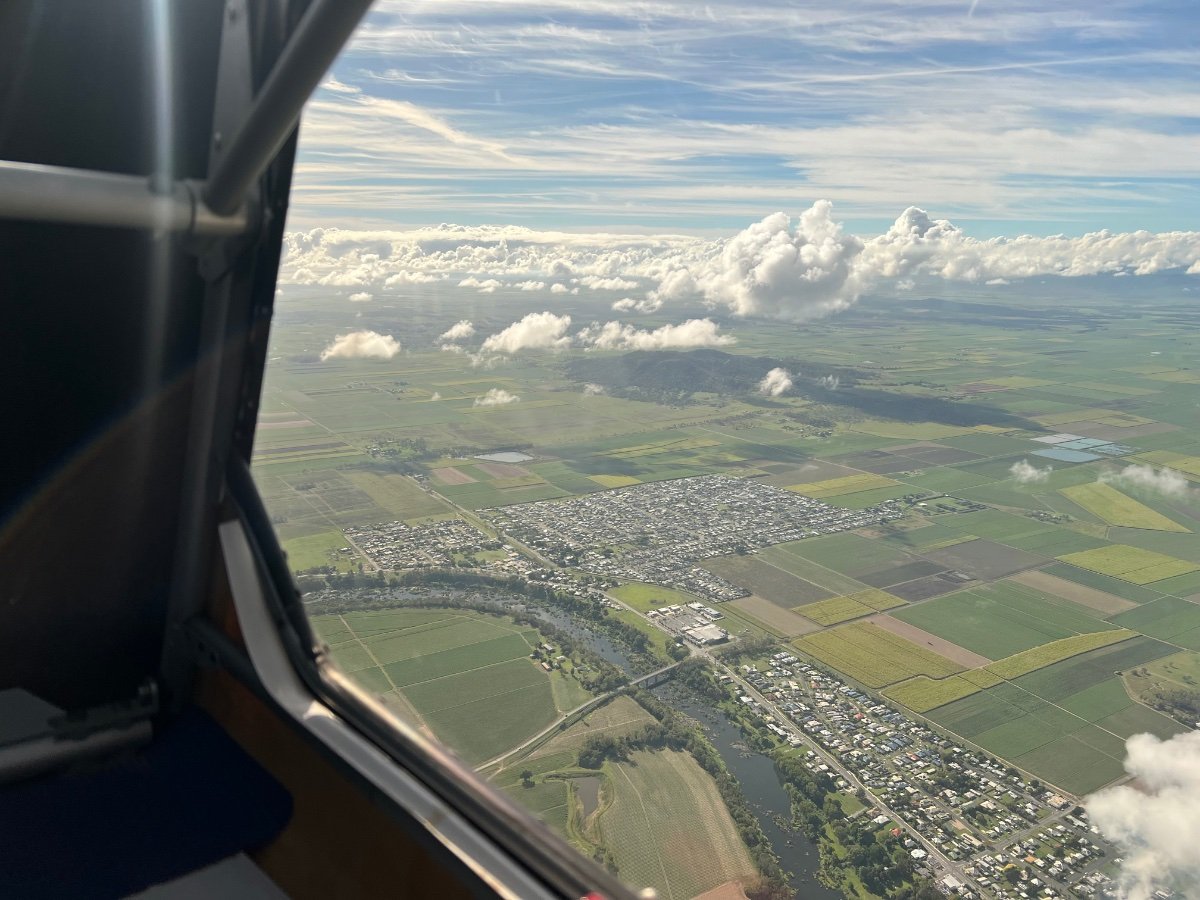
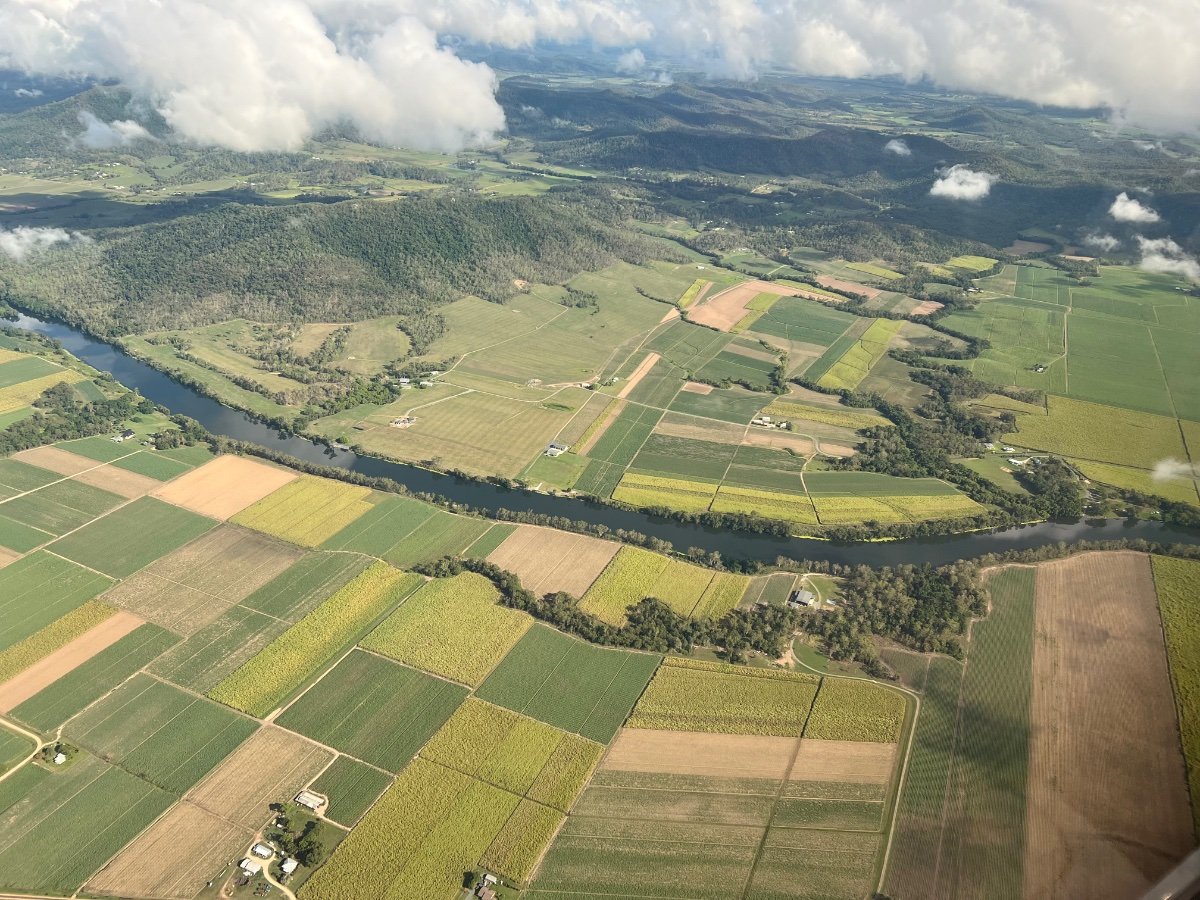
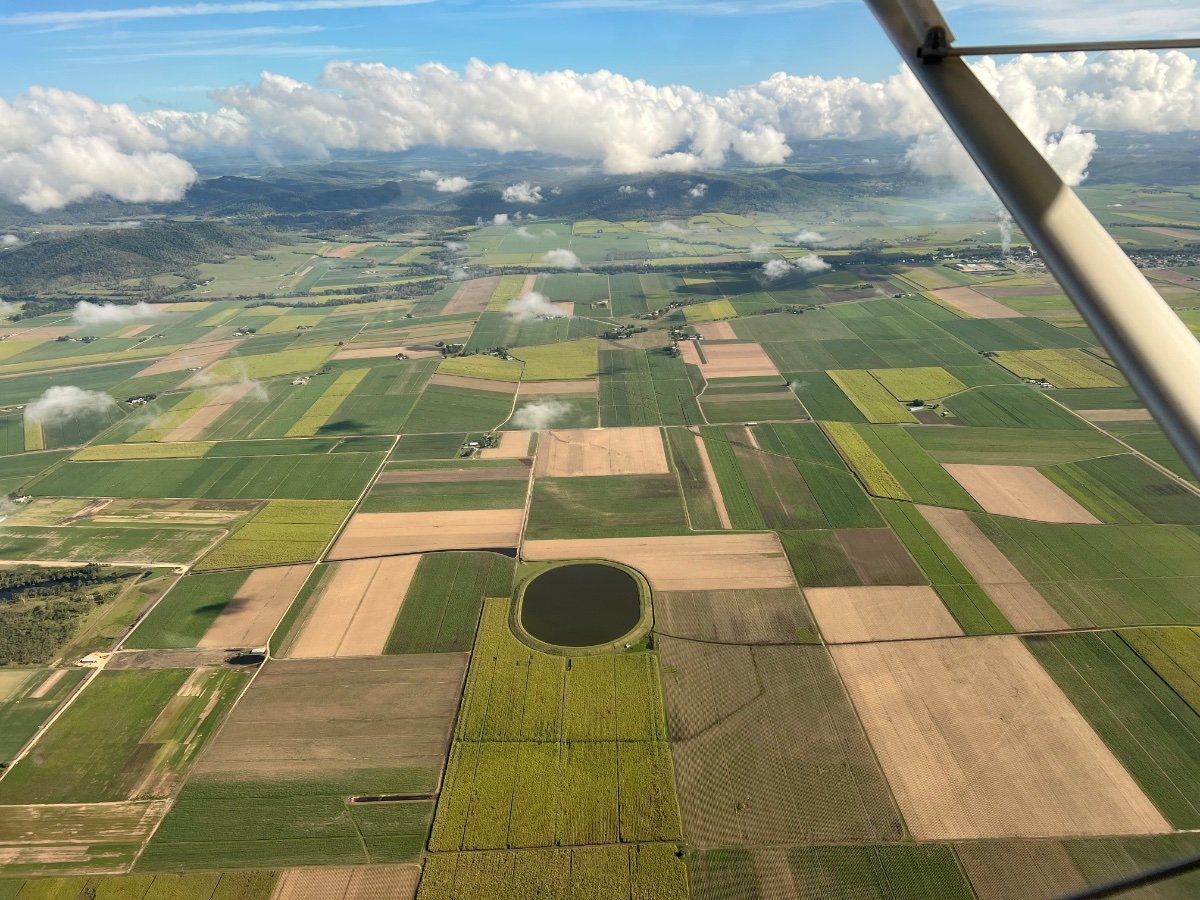
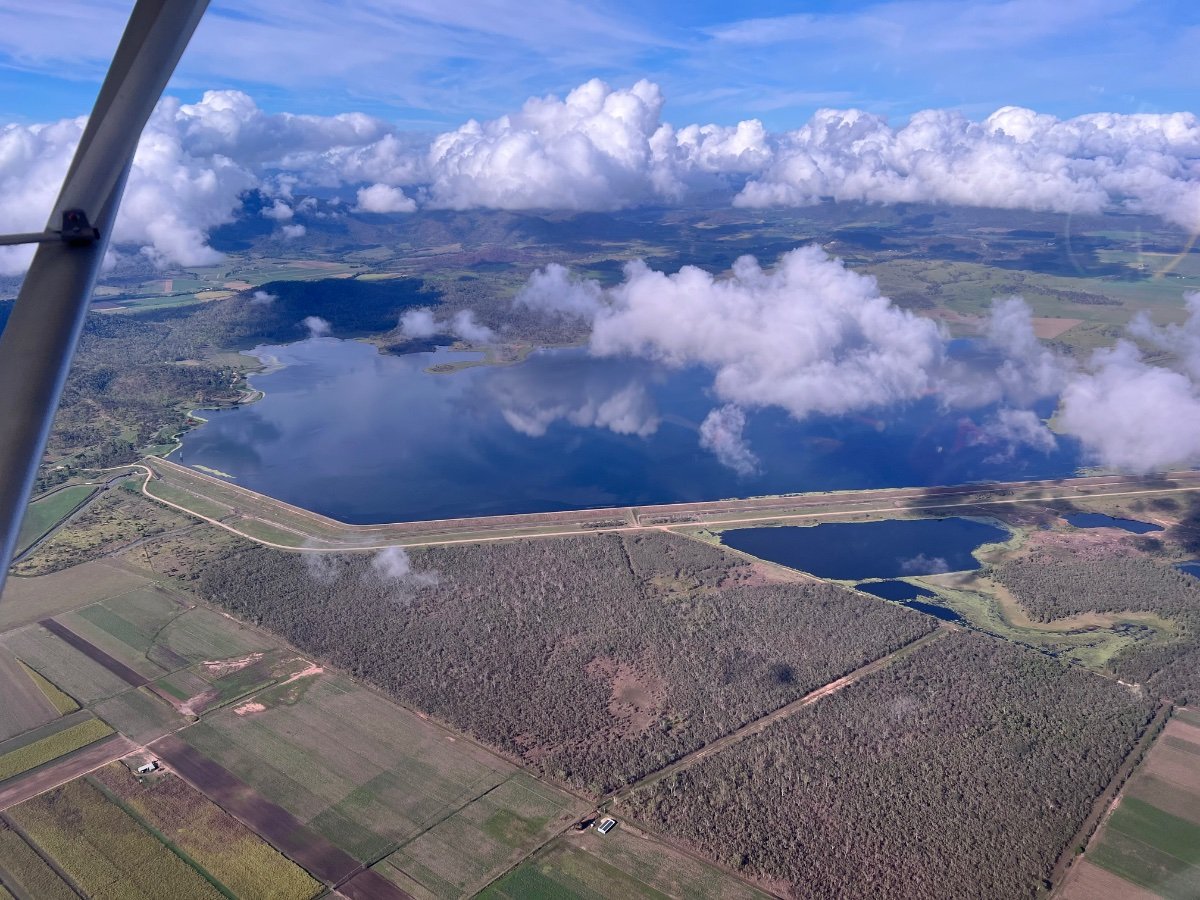
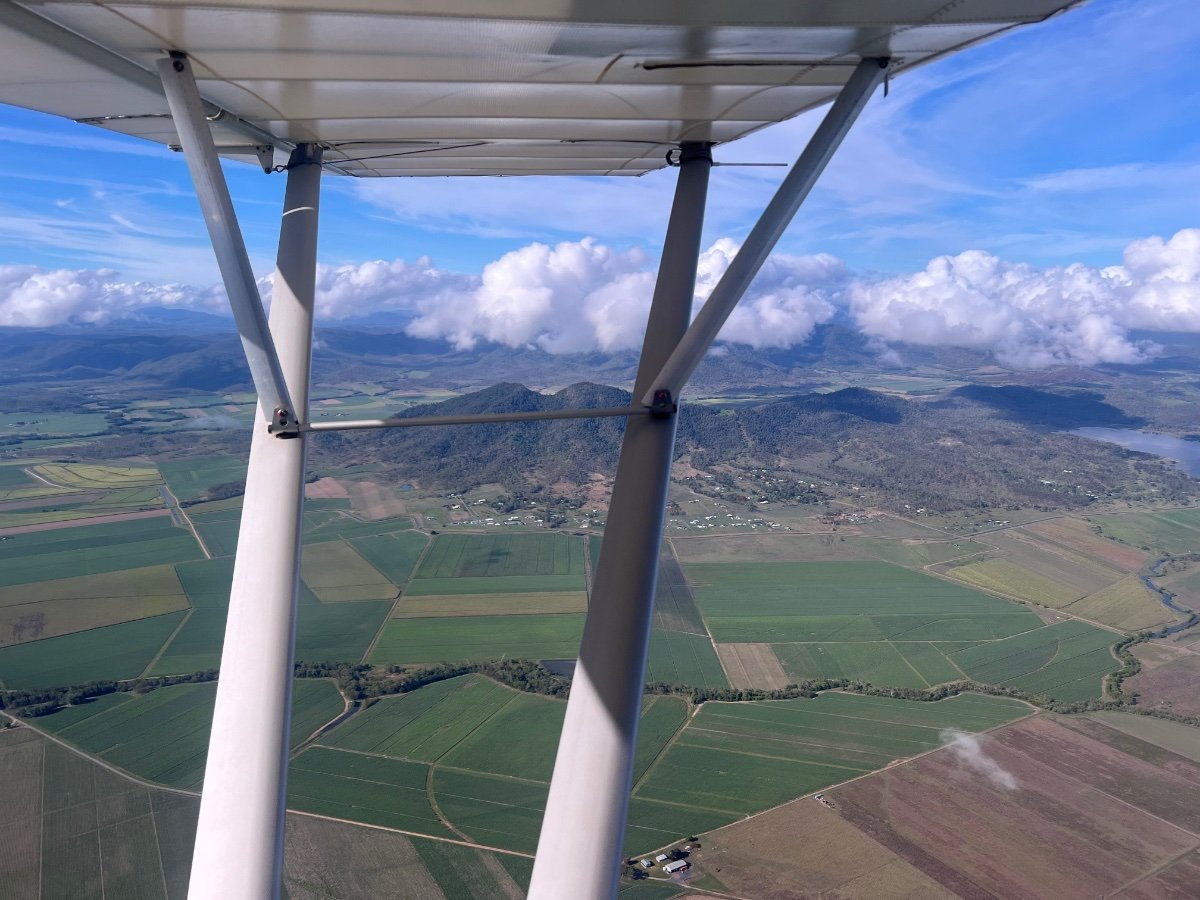
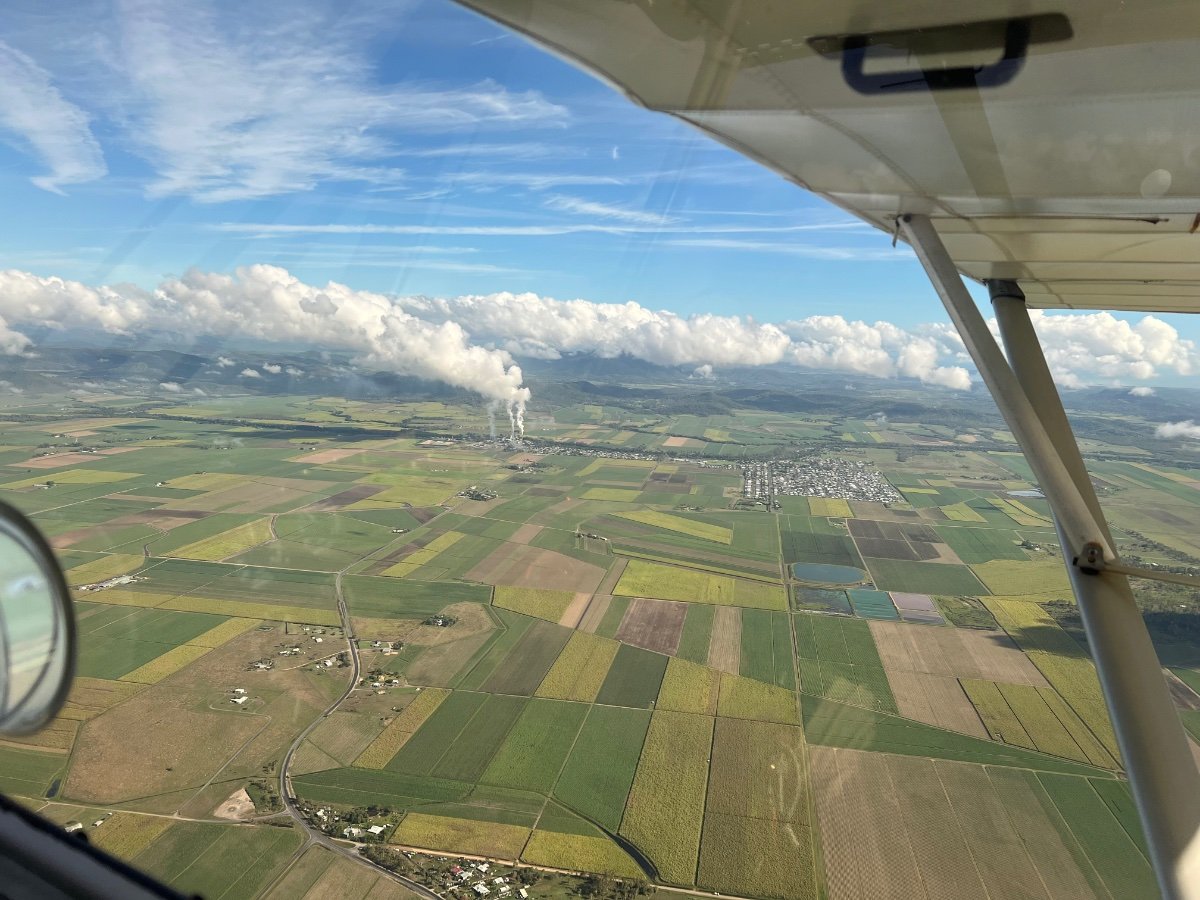
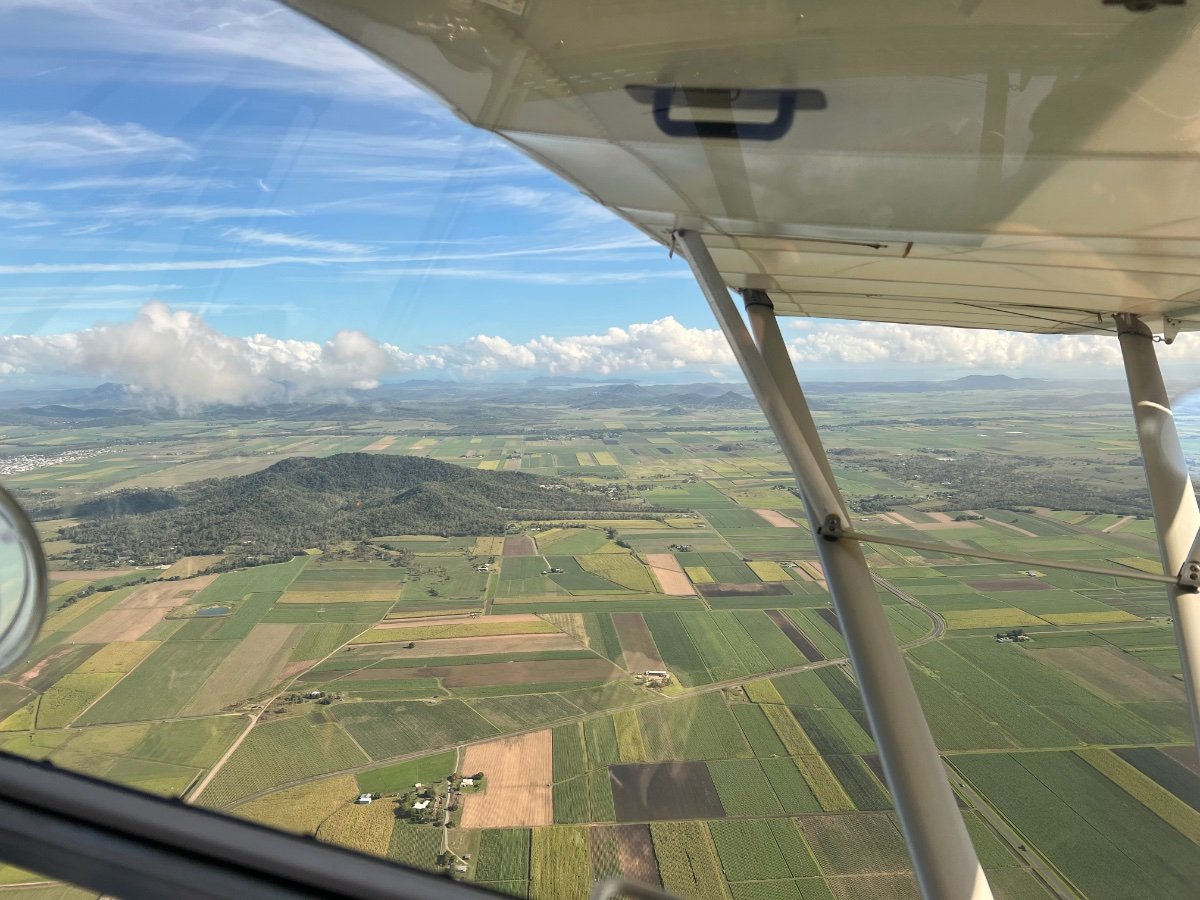
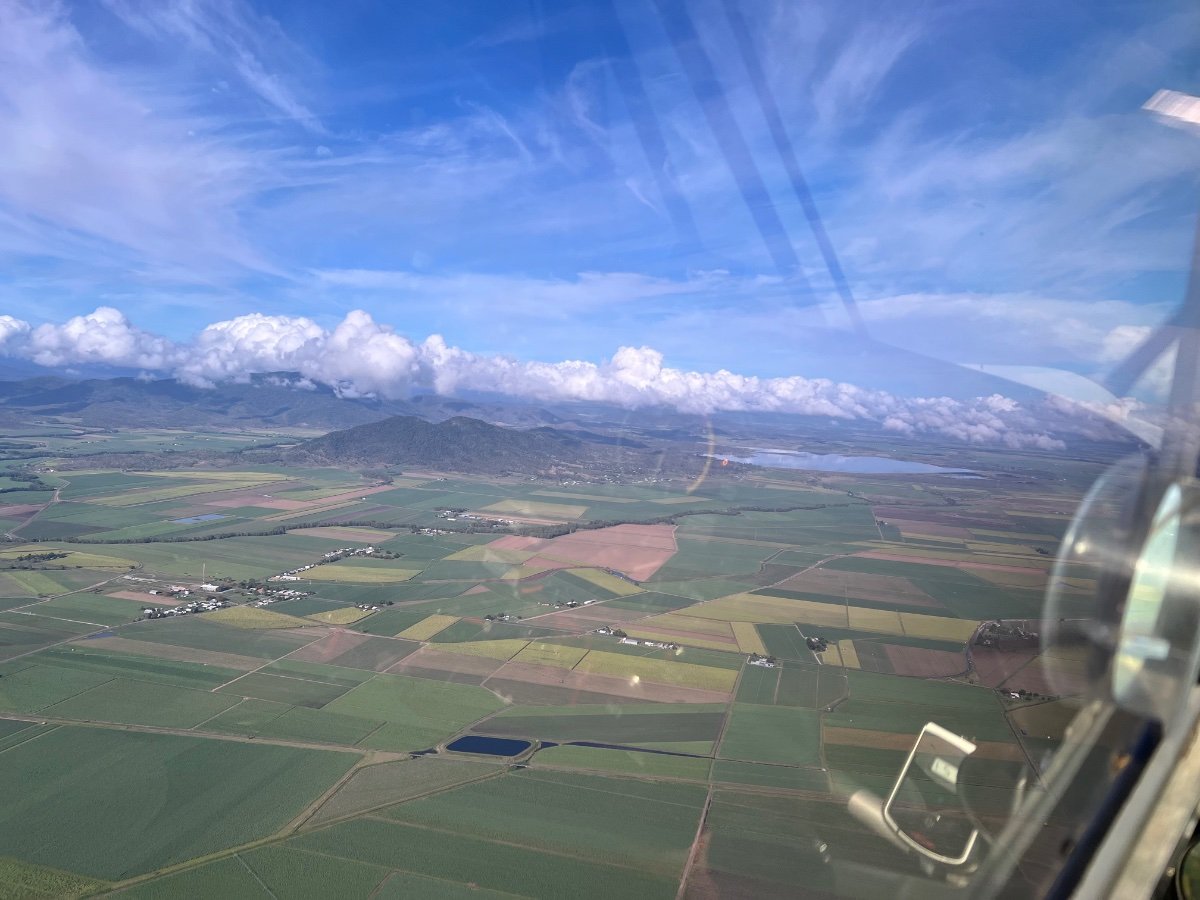
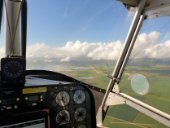
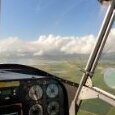
Had a nice fly around the block, first fly for a few weeks due to weather and other commitments. Great conditions. Also yesterday received the rear wing tube upgraded bracket so in the wet can fit the 600 kg wing upgrade and in a couple of weeks finish off Ben’s wings. In the parcel were a set of 17mm silicone coolant hoses and clamps for the Rotax 912 ULS that will be fitted in the neat future. IMG_3323.mov

-
Thanks I'll pay soon; just getting it for in hangar. I still have the hand held icom I got from you a couple years back, working great. Cheers