-
Posts
165 -
Joined
-
Last visited
-
Days Won
4
Content Type
Profiles
Forums
Gallery
Downloads
Blogs
Events
Store
Aircraft
Resources
Tutorials
Articles
Classifieds
Movies
Books
Community Map
Quizzes
Videos Directory
Everything posted by Don J
-
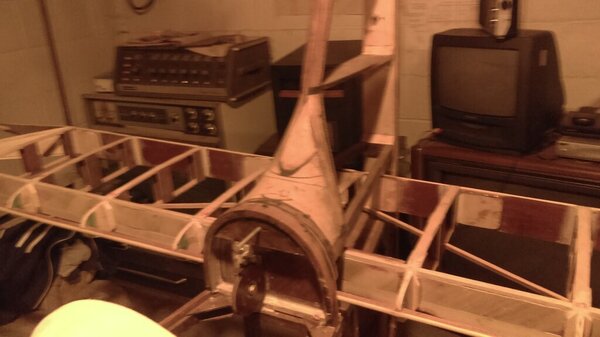
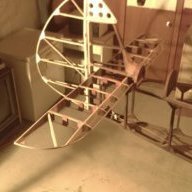
This picture is of the Horz.stab with all hinges in place and the control arm for elevator installed. I'm getting 34 degrees up elevator and 28 degrees down and prints call for 25 degrees up/down so very satisfied with movement. Rudder ask for 30 degrees left /right and I'm getting 33 degrees so mods on control arms from the KR-2 is a easy task by using router and some sanding and file work next to add ply to HZ. I guess it's something to do during this terrible Covid-19 mess we all are in. Over 240.000 have passed in the USA as of November 06. You all stay safe. Don J
-
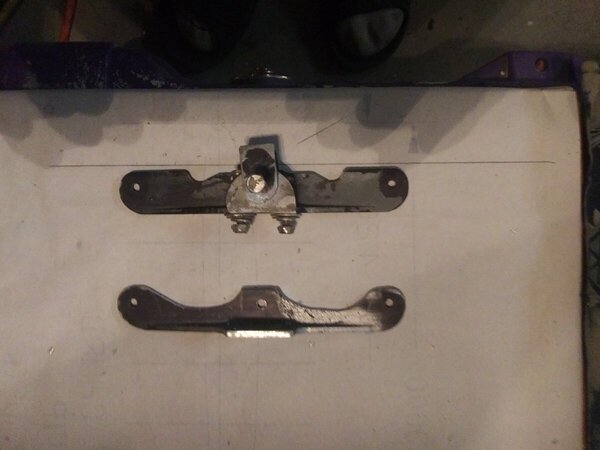
I wanted to post a picture of the modifications I did to the stock KR-2 control horns for elevator and rudder of the Taylor-monoplane. The bottom horn in picture is shaped to allow forward and aft movement for the elevator and top fitting is slightly modified for full movement of rudder left and right and has a safety angle mounted to tail post to help protect wood if cable lock sleeves slip. Horz.stab rear spar will have same type of safety feature installed. a little work each day. Don
-
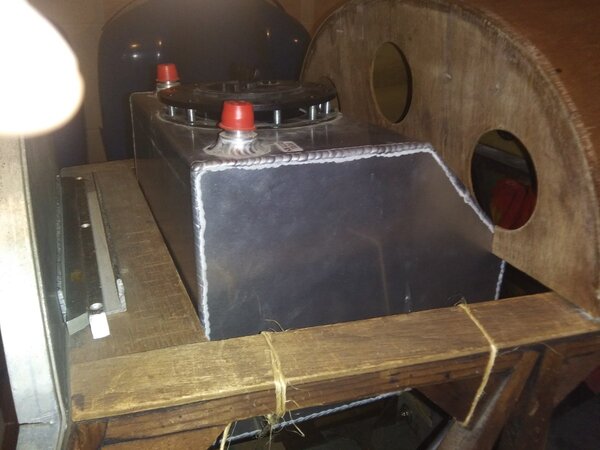
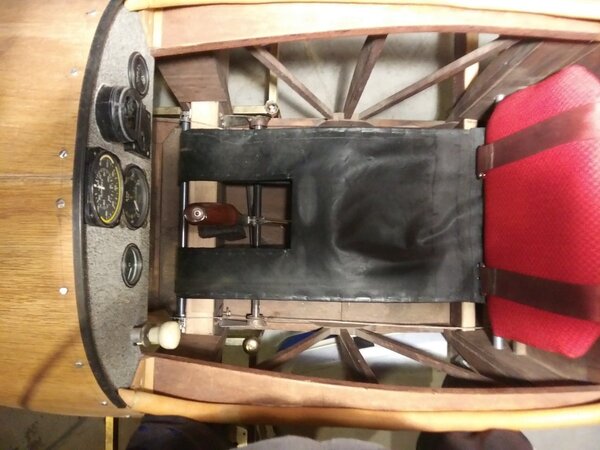
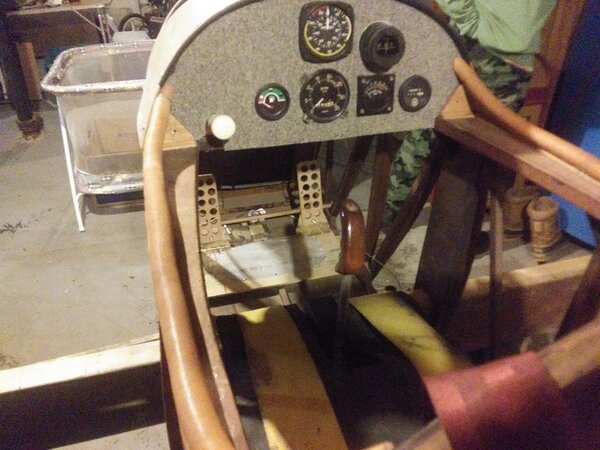
Hello members. Though building has been going slow mainly due to the difficulty of getting material shipped in I'm still plugging away at the build these photos are of the fuel header tank getting ready for mounting. and the small modification done to instrument box for tank fit. I've been practicing with the Poly fiber practice kit to get the feel for covering the control surfaces and got my seat sewed up. The yellow tow strap laid on the seat in one picture is rated at 5400 lb and was sewed into the seat and is of great strength. I'm still having a great time building. Don J
-
Still working away on the T-Mono and check myself the other day and yep still alive.:cheezy grin:Plane is begging to get its wings built but many little things to do before the roots are put in for good. Materials are slow to come but we all are kinda use to that right ?working mainly on fuel and engine mount and the rest to get the FWF done. Stay safe all. Don
-
A quick drop in to show some pictures of the hardware built to get the controls working on the Taylor-mono. I have all the Aileron Diff't quadrant material from my KR-2 and at this time studying just how these will work in the root of the wing. Taylor print calls for 22.5 degrees in offset and as close as I can measure at this time is my KR-2 parts are at 21 degrees so I believe it will be just fine for it's new mission. I made a couple sets of elevator and rudder hinges I guess practice makes perfect. very near to getting the controls covered with fabric but first had to make and mount all metal parts and assure all worked well. My build has been the best baby sitter for me during these trying times and I hope every one is doing well. P.S. uploaded file was to large to post but you catch my drift. Don
-
I thought I should share with the forum the inner works of my root Spars. If you look close you can see how I took stock KR-2 root spars and removed the ply on one side and added bridge support braces internally. This probably was not needed but for some reason I feel more confident with the added bracing especially beings my landing gear is supported at the outer end of the spars. I'm still working on the task of getting the hinges done for I can get these parts covered. believe it or not fellas I'm still having a great time building...
-
Getting hinges lined up and checking on how much ply overhang I can have on Horz. Stab trailing edge
-
I'm at my final sanding on the rudder and just about messed up. I got one base ply glued on and was ready to glue on the other side and realized the internal part of the rudder needed varnished at the base. If I would have not caught this I don't think I could have sealed it without dipping into a large container of varnish. In some ways that would really seal it thick but what a waste of sealer and plus much added weight. Once I had base ply on one side I varnished internally then tapped off the inner glue line of the other base ply and varnished it good before gluing in place. Now with some healthy sanding along the bow I can pull all hinges and coat the exterior with varnish and focus on the covering job with fabric. I thought it would be good idea to let builders know of this near mistake I made. Don
-
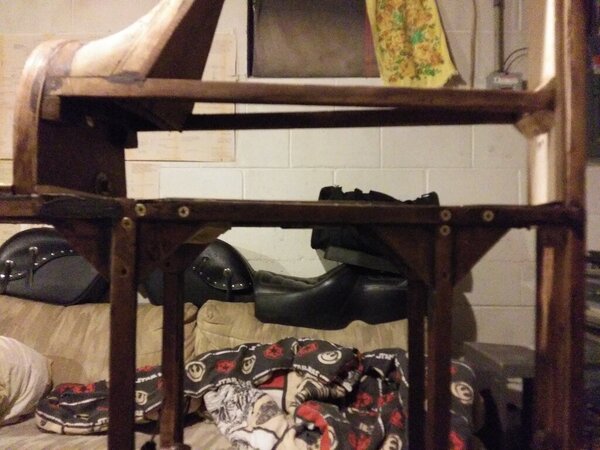
I managed to get the added screws in the tail area I wanted for support of the Horz. Stab mounts blocks and just plugging along a little each day.
-
very nice project. Could you imagine building all those pieces by hand. have a great time and keep America posted
-
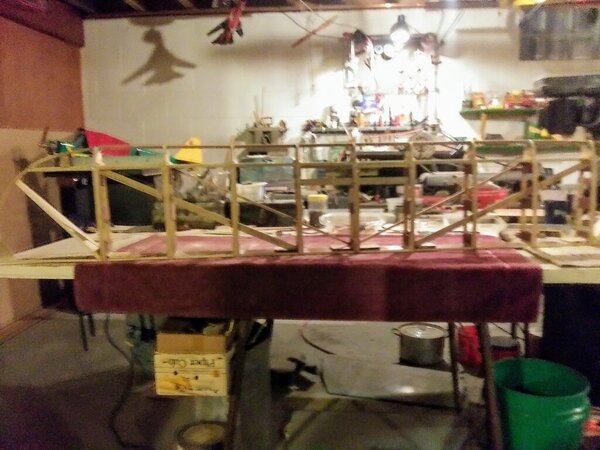
In this photo you can see the drag anti drag wood braces 45 degree to the spars I added in the elevator and Horz Stab. I will detail HS with balsa to get to same plain as the ribs to give more glue surface for the ply that covers the HS and elevators brace will remain hidden because it's fabric covered only. I added a x-member just back from the front HS spar to allow a slot to reach the mounting bolts and other end of bolts will be accessed from inspection holes per plans on side of fuselage. Doing the detail work allows me to run the ply out to the tip bows on both sides of the HS and the very tip will be sewed with small copper wire to re-enforce the glue were the two ply sheets meet at the tip bow. This has made a very strong tail group and once the HS is covered with ply I can use the HS for a ramp to load my motorcycle in the truck. JK-JK Now it's time to Varnish inside and get hinges in place.
-
-
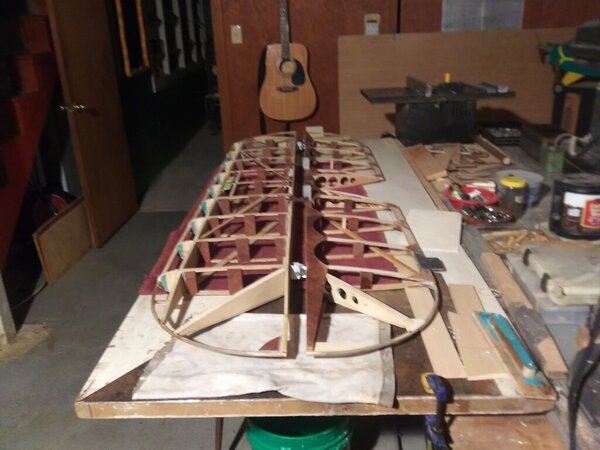
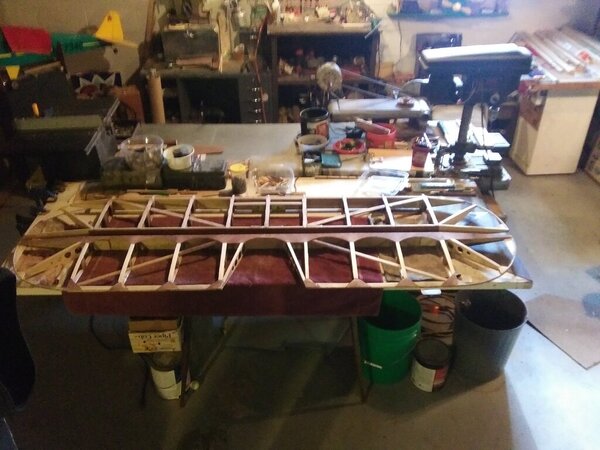
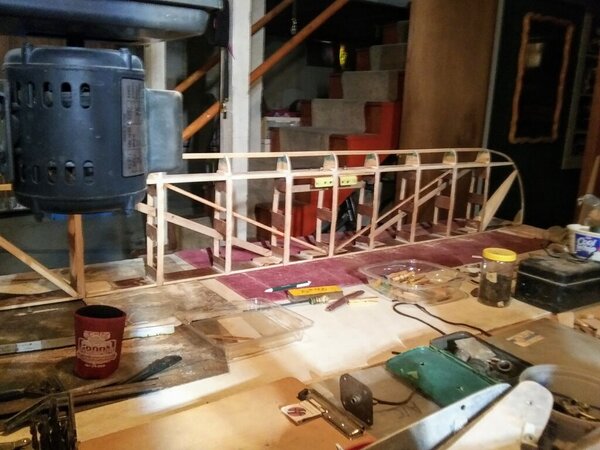
Started finish work on the Horz. stab and added some compression braces internally to help aid in twist of the HS. I also added support brace between tip bow and front spar because this felt to be a weak area in leading edge. I will wrap leading edge with 1.5 mm ply with grain running 90 degrees to thrust line and have the 1 mm ply behind front spar with the grain running with thrust line. I've been contemplating on gluing foam blocks between nose ribs to help support leading edge skin but not sure if really needed. I will say that the shop area needs a good dusting and the empty coozy in first picture needs refilled.
-
The plans are very basic and leaves much left to figure out yourself but main subjects are covered. I find the build to be challenging but very enjoyable but is one plane you can't just blast threw. There is a lot of work in gusset prep and detail at the end of part being built. A Verner 3V would be sweet but vibration would be a hidden grimmlin I would be concerned about. Possible no problem at all but all wood air frames can be picky depending on glue quality and joint prep. I always had in my head a single rotor Mazda engine would be doable if you get 55hp at cruise and 75 hp at take off and have EFI and turbo. Thank you for your comments DRFlyer
-
Worked on detailing the Elevator and have one side done and also added a ground adjusted trim tab for aid in level flight at cruise. I have 3 SS screws in leading edge of tab and added a old trick I used in my RC airplane hinge mounting and that is taking tooth picks and drilling a slip fit hole and epoxying them in place. I added 3 of those just for extra strength but should not be needed. I feel no obstructions to interfere with air flow over the control surface other then the stitches them selves once covered. I have designed a in flight elev trim but more on that later when I make parts and install. As it stands right now it will be for up trim only but the same design will work on either cable so I may do both.
-
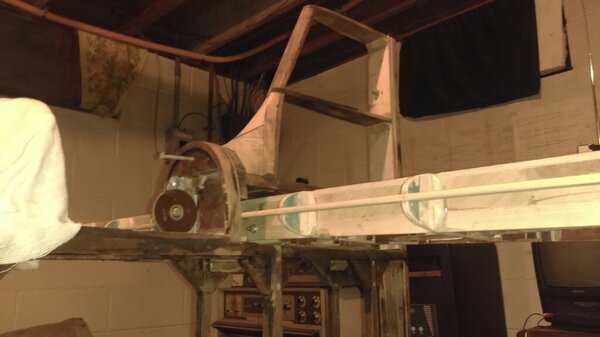
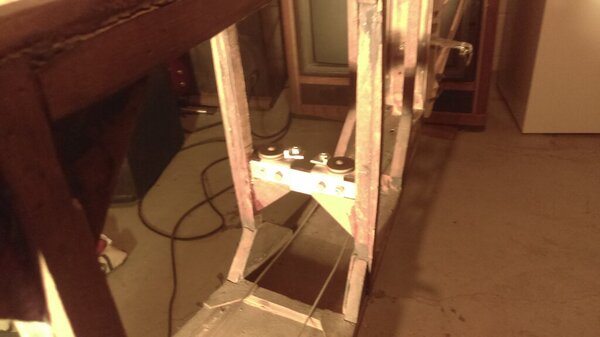
As it stand right now I plan NOT to have any electrical in the plane mainly because of the limited room FWF. We all have access to some amazing hand held GPS and radios. The airbag idea was just that. I was thinking of a way to raise and lower the leading edge of the Horz stab for in flight pitch trim instead of having a trim tab but its way to complicated for this tiny bird not to mention the weight and risk involved. In the picture you can see how I mounted a pulley in front of the Fin for the elevator cable. The prints show the cable's running threw a fair- leed and once that wears threw you start cutting wood because at that area the cable changes direction about 30 degrees. The last picture is of the pulleys I added for rudder cables before they exit the Fus. again on the prints the cables are actually ran threw the vertical uprights near the rear root spar and also with fair- leeds.
-
Nev. You right on that note of adding alot of weight but then a person gets to thinking of none metal things such as a "airbag" and movement is controlled by air and not a heavy metal all thread plus the rear mounts would have to hinge for movement. Oh well that's the joy of home built aircraft and man gets to scratch his head every now and then and try and come up with a new way of accomplishing mission. Its funny I have a 1939 Stinson HW75 that I cant find parts for and this T-mono that I have to make every part.
-
Nev. As a matter of fact I can adjust the incidence of the Horz stab because of the way I mounted it. (POST 7 ) I would just need to place thin shims under leading edge mount angle. If a trim is added to elevator I will route cable internally as my KR was done.n I wonder why Mr. Taylor didn't add thrust counter balance to elevator as he did the rudder ? I like the thought of having the Horz stab on a jack screw and that would eliminate the need for elev. trim.
-
Weight is a big factor on such a small bird but I do have a couple things going for me. One is I'm using the Diehl wing and have the ability to add wing tanks and have the CG more under control during fuel burn off but that brings in the fact that more weight is added to the aircraft and more potential chance of system failure. There would only be one trim tab on elevator starboard side either 26 square inches or 39 sq. I have been studying different counter balance for elevator and there is a small amount of room under the fin for an arm to mount counter weight. But in truth I 'm not totally convinced if any thing is needed beyond John Taylors original design of the tall group other then the mounting of the Horz.Stab. The other plus is I'm 155 lb soak and wet and just getting lighter with my age. One hiden thing that haunts me is I have the fire wall that slopes back and not 90 degrees to thrust line and prints call for the builder to move fire wall back 3" if VW engine is used so it makes me think that I will be nose heavy and may need weight placed at the tail to get CG in range but too early to tell but I feel comfortable with building the tail group heavier then prints called for. By the way I was fiddling with signature and ended up with a picture and have no idea how to remove it.
-
Nev. I was thinking beings my elevator is still uncovered I think a sub trim spar can be added on either side and a cable activated trim could be included. I can fit a 39 square (13" x 3") inch trim tab with very little work at this stage. Some people speak of a servo activated trim much like the KR-2S has but I think cable would be less head ache and less to fail. My KR-2 had a cable activated trim for elevator and it worked well.
-
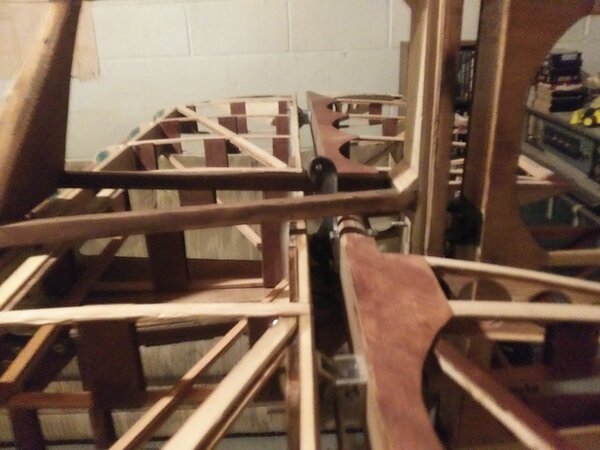
Nev. I've been researching a way to get trim for the elevator beings there is no trim on any of the controls. The rudder I can add a external hand adjustable tab but the elevator is another matter especially with CG issues with fuel burn off. I have a duel pulley behind the rear root spar as poor picture shows and kicking around an idea by using a cam type system or jack screw to get at least up trim or possibly both on elevator. the print call for two sets of cables for elevator one set running internally down each side of Fus. Besides if I loose elevator control I'll just roll it on it's side and land with the rudder. JK JK
-
I believe your absolutely correct Nev. first was the Taylor-mono then the Taylor-Titch. Tho they are common across the pond but here in the states there rather rare . I would love to post all my project pictures here but I imagine the forum has limits? I try and post pictures of any changes I made concerning the Technic of the build and how I changed some of the cable routing for elevator. One thing I did lately was to move my throttle knob up in the bottom left corner of dash to allow clearance of the back of header tank. It was a easy fix because I was able to use the same holes for Alum angle that is used for the throttle cable mount. As any builder knows a person must be patient when building a plane. Pictures are of the throttle position change and the other hole in Alum angle mount will be for Carb heat control. I have plenty room left in instrument panel for other planned items yet to be installed.
-
Thanks to all that have followed the thread and facthunter your right it has been a rather challenging plane to get built but I do so like the smell of cut wood. The rudder is of good size when your sanding and handling through out the day.
-
I have gained ground in the tail feather part of the build by detailing the rudder and elevator by adding balsa and getting the surface flat on the same plain as the fabric will lay. The one picture that has a socket extension is to show how I drilled a access hole to get to bolt heads once the bottom part of rudder is covered with ply. Build has still remained a enjoyment and plenty work left to have fun.
-
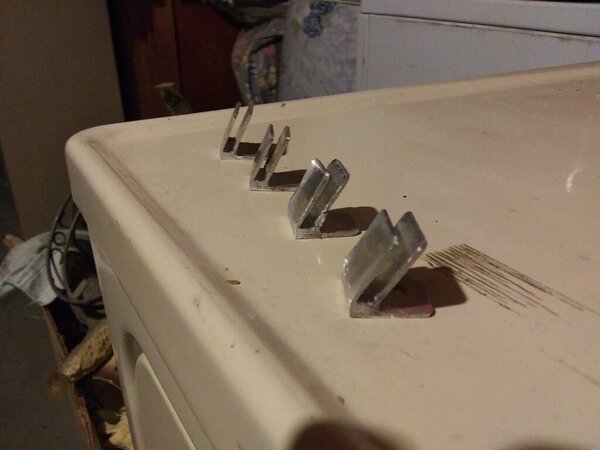
Still working away on the t-mono started to tackle the wings and fuel tank and the 1000 other things yet to come. came up with some tabs for mounting wind screen from an old bug deflector from my truck. Fuel tank is twice of what I need but a fellow T-mono builder in Florida will use the other half. I trying to shift the tank back towards the main spar closer to CG mounting just under the upper longerons front of tank will be about 8" from fire wall and run back to instrument panel. Talk about having the fuel sitting on your lap I may drop from 10.5' DEPTH TO 7.5 or tapper from 10.5" back to 3" aft. I think that would fit the mission better. One thing fella's I'm still having fun just hoping I don't mess up those Diehl wing skins for one the cost and second I don't think they can be bought any more.







.thumb.jpg.c1c62e2cbbee4364ec87ecab4b9e4530.jpg)


